
How to Assemble Your Solar Sparrow Ebike | Euphree Step-by-Step Guide
The Euphree Solar Sparrow is designed for comfort, safety, and easy setup. This guide will help you unbox and assemble your lightweight step-through ebike in less than an hour—no apps or special tools required. Built with SGS-certified safety standards and supported by our USA-based team, the Solar Sparrow is ready to roll for everyday commuting and weekend rides.
What’s Included with Your Solar Sparrow Ebike
- Solar Sparrow step-through electric bike
- Front wheel
- Front fender
- Parts box with:
- 5mm & 4mm Allen wrenches
- Multi-Allen tool
- Left & right pedals
- Front light
- Reflectors
- SP Connect phone mount
- Battery charger
- Euphree stickers & storage bag
Pro Tip: Cut zip ties carefully and keep all spacers or cone nuts for reassembly.
Step 1: Handlebar Setup
- Loosen the four stem bolts using the 4mm Allen wrench.
- Install the handlebar and reattach the bolts (do not fully tighten yet).
Step 2: Installing the Front Wheel
- Remove the front axle with the 5mm Allen wrench.
- Take out the disc brake spacer from the caliper.
- With a friend’s help, lift the bike and align the wheel.
- Insert and tighten the axle securely.
Step 3: Front Fender Installation
- Stabilize the bike using the kickstand.
- Remove the fork bolt with the 4mm wrench.
- Slide the fender between the fork and tire.
- Hand-tighten the center bolt, align the fender arms, and secure.
Step 4: Pedal Installation
- Left Pedal: Turn counterclockwise to install (reverse thread).
- Right Pedal: Turn clockwise to install.
- Use a 15mm wrench to fully tighten both pedals.
Step 5: Mounting the Front Light
- Attach the light bracket to the handlebar.
- Tighten with the 3mm Allen wrench.
- Connect the red-tipped cable until it clicks into place.
Step 6: Adjusting Handlebar Position
- Loosen the side stem bolt with the 5mm Allen wrench.
- Rotate to your preferred angle for comfort.
- Re-tighten all stem bolts evenly and snap the cover into place.
Step 7: Installing the SP Connect Phone Mount
- Remove the rubber stem cap.
- Secure the mount with the 4mm wrench.
- Works with all SP Connect phone cases.
Final Safety Check
Before your first ride, confirm that all bolts are secure, tires are properly inflated, and brakes are firm. The Solar Sparrow is now ready to deliver smooth, safe rides with Euphree comfort built in.
Need help? Our USA-based support team is available anytime.
➡ Shop the Solar Sparrow Ebike Now
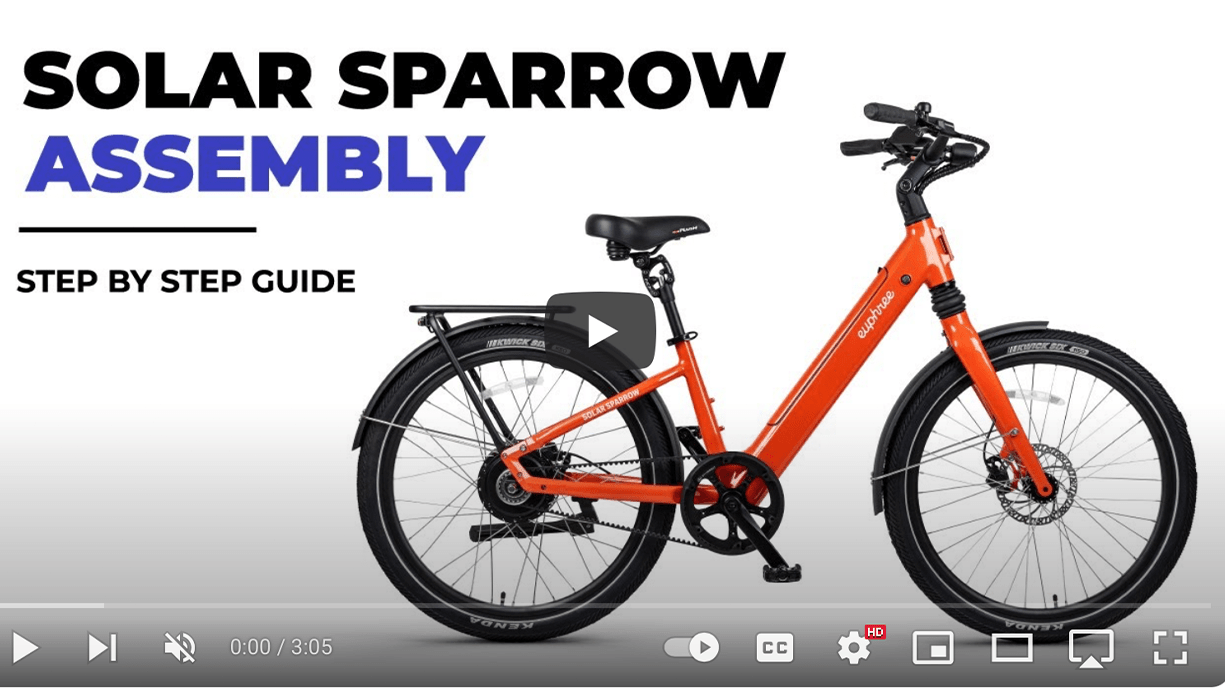
Video Assembly Walkthrough
Frequently Asked Questions
How long does it take to assemble the Solar Sparrow ebike?
Most riders complete assembly in under an hour with the included tools. No special equipment or apps are required.
Do I need any extra tools?
No. Your Solar Sparrow comes with all necessary Allen wrenches, pedals, light, and SP Connect mount. A standard 15mm wrench is recommended for tightening pedals securely.
Is the Solar Sparrow safe to ride once assembled?
Yes. Every Euphree Solar Sparrow is SGS certified to meet UL 2271 and UL 2849 safety standards. Following this guide ensures safe setup and peace of mind.
What if I need help with assembly?
Our USA-based support team is available by phone or email to walk you through the process step by step.

